Your NXS shifter may sometimes resemble a Christmas tree — but don’t worry.
Every color and blink pattern is designed to tell you exactly what’s going on.
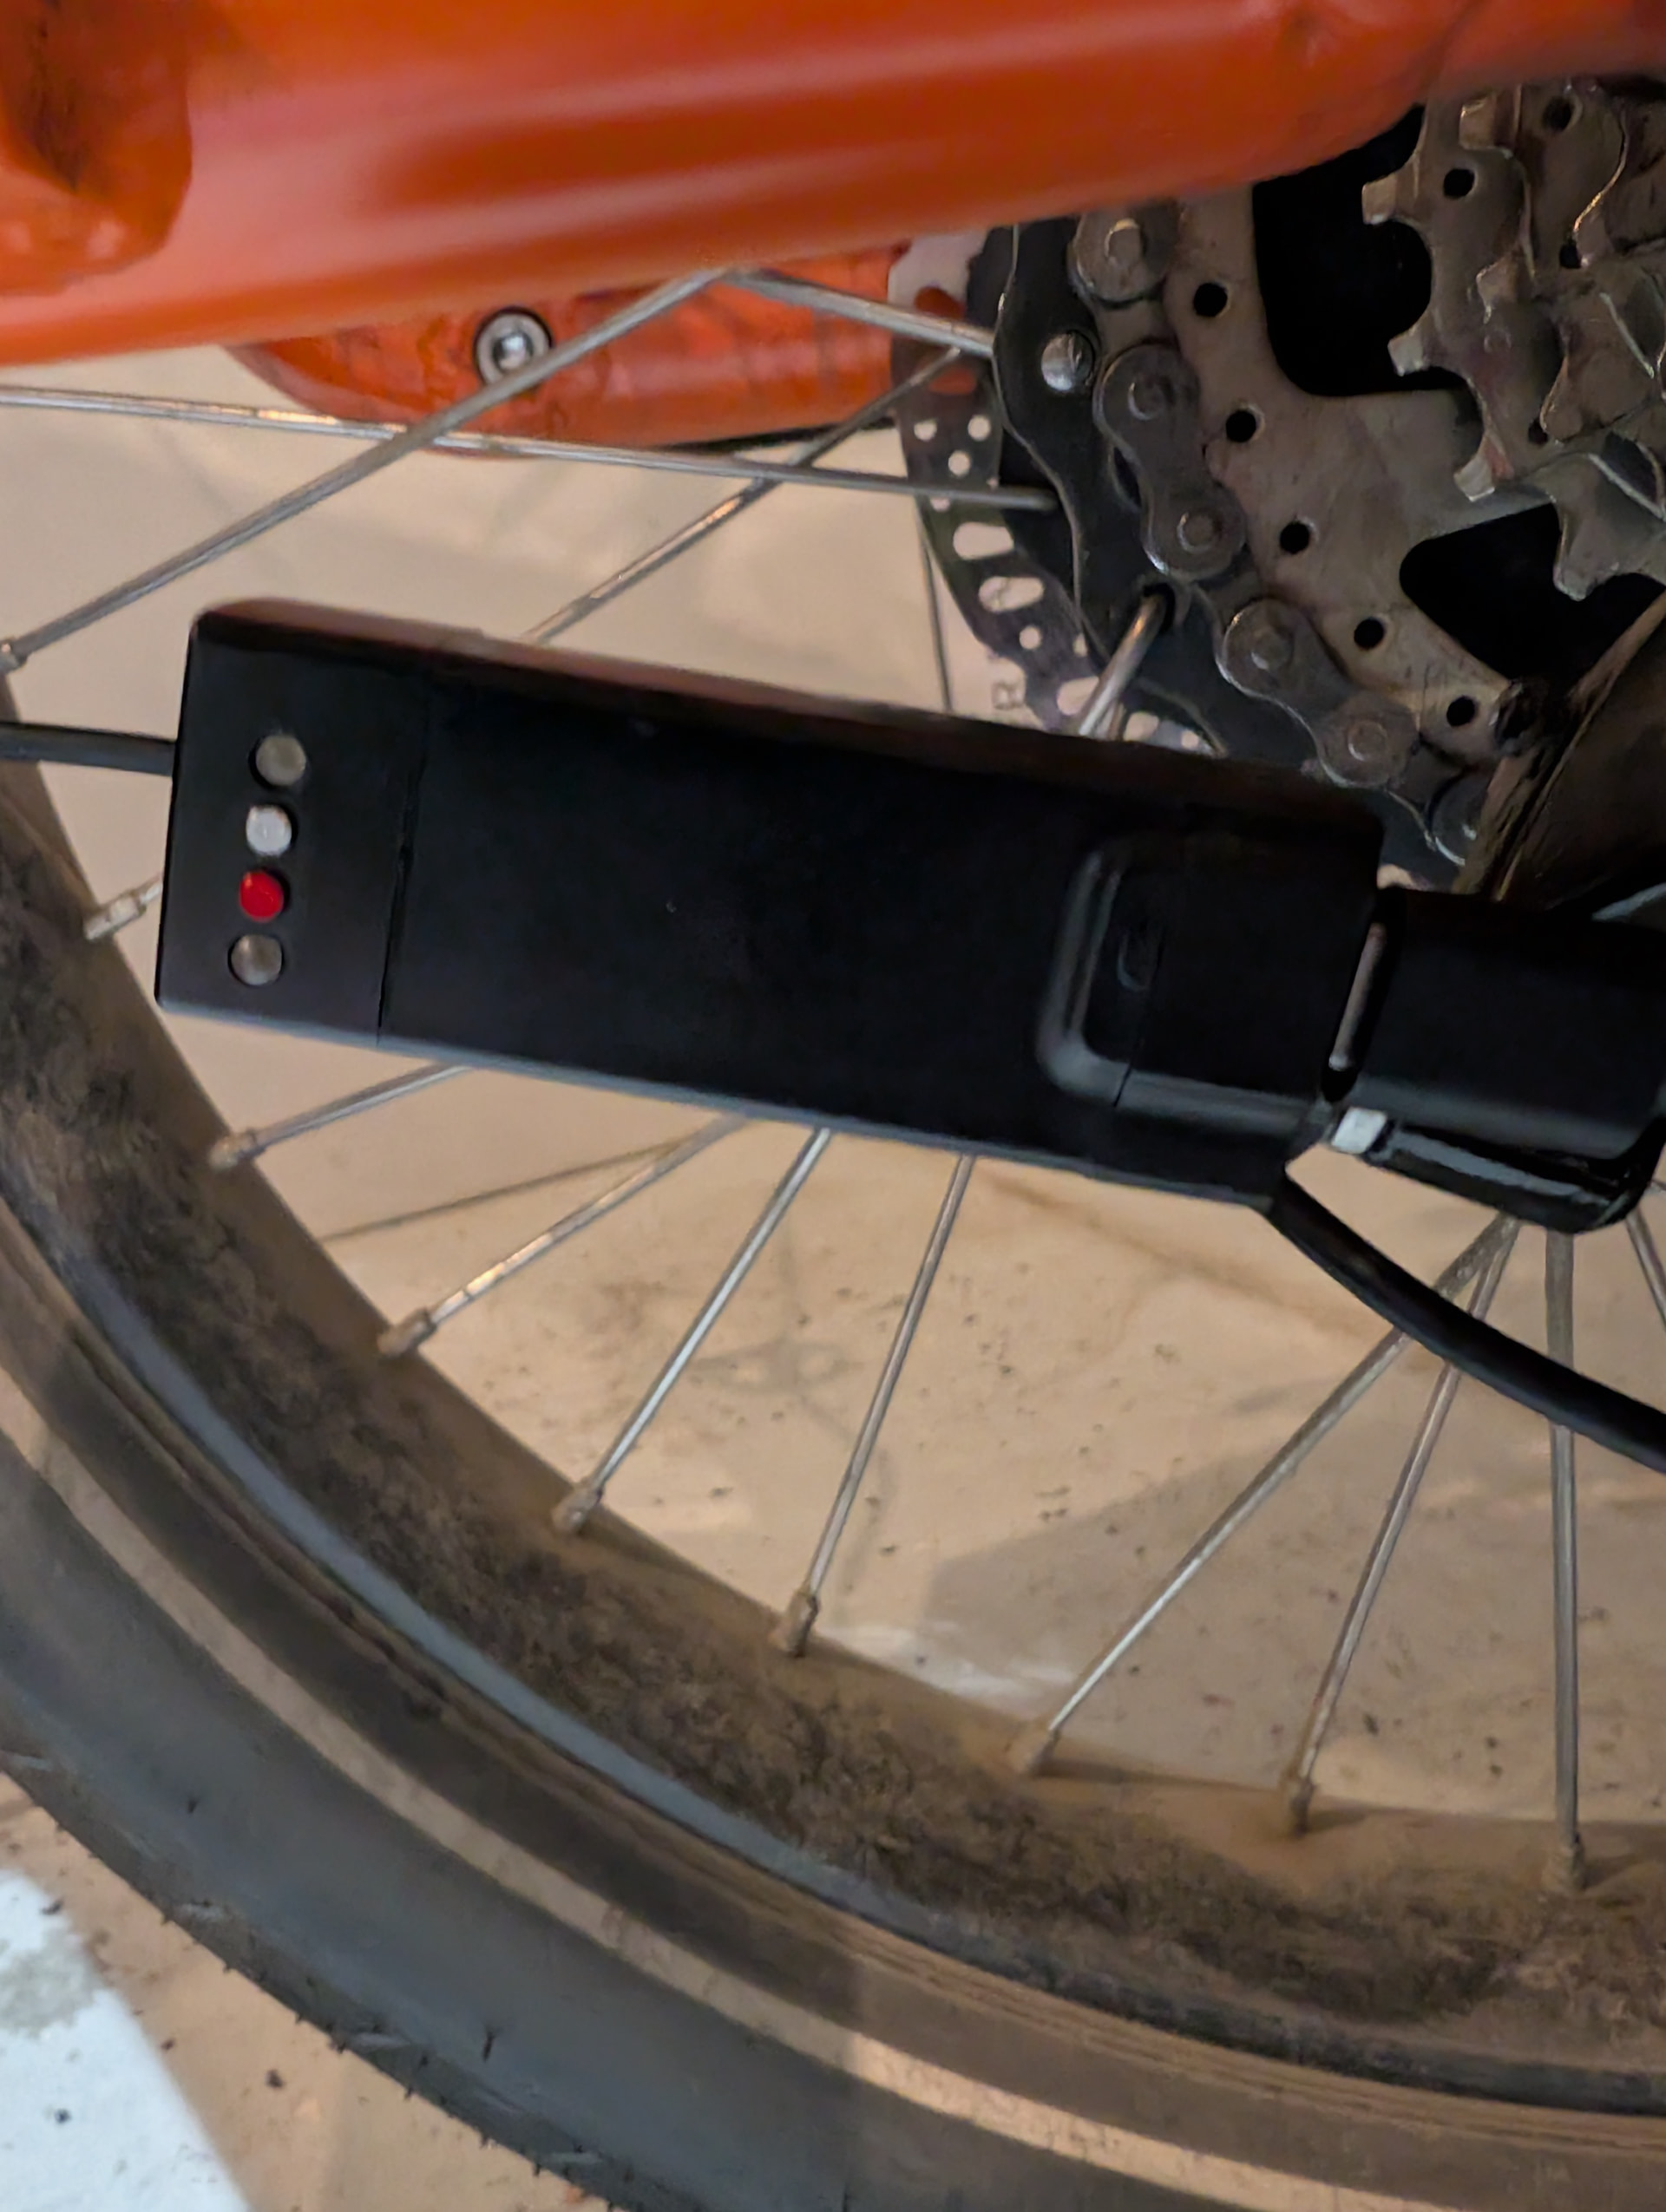
The motor unit has two LEDs and two buttons:
-
Charging LED
-
Function LED
-
Function Button
-
Reset Button
Below is a complete guide to what each LED means and how to use them for troubleshooting.

 Charging LED — Battery Level Indicator
When the shifter is plugged in, the Charging LED changes color as the battery voltage increases.
This lets you check charging progress at a glance.
Charging Color Steps:
| Voltage | LED Color |
|---|---|
| < 3.6 V | Red |
| < 3.7 V | White |
| < 3.8 V | Magenta |
| < 3.9 V | Yellow |
| < 4.0 V | Cyan |
| < 4.05 V | Green |
| > 4.05 V | Green – Rapid Flashing |
| Fully Charged | Green – Steady |
Important Tip
Once you see rapid-flashing green, the battery is fully charged for practical use.
You do not need to wait for the LED to turn into steady green.
 Function LED — Quick System Status Check
Whenever you:
-
press the Function Button (quick press), or
-
perform a reset
…the Function LED will show a short six-blink diagnostic sequence.
This gives you instant insight into whether the system is homed, connected, and functioning correctly.
 Six-Blink Diagnostic Breakdown
Each blink tells you something different. Here’s the full meaning of each one:
Blink 1 — Home Status
-
Green: Homed and ready
-
Red: Needs homing
- If red, perform a homing procedure before riding.
Blink 2 — System Status
-
Green: System OK
-
Red: Internal error — contact support
Blink 3 — Position Sensor 1
-
Green: Working properly
-
Red: Sensor fault — contact support
Blink 4 — Position Sensor 2
-
Green: Working properly
-
Red: Sensor fault — contact support
Blink 5 — Remote Connection
-
Blue: Connected to handlebar remote
-
Red: Not connected
- If red, re-pair the remote or check battery/power.
Blink 6 — Battery Level
Uses the same color codes as the Charging LED above (Red → Green).
Great for checking battery level without plugging in.